Worm Farm (Vermicomposting)
A worm farm can turn food scraps and other organic materials into black microbial laden compost also known as vermicompost or castings. Worm castings have been shown to contain reduced levels of contaminants and a higher saturation of nutrients than the organic materials before vermicomposting. Vermicompost contains water-soluble nutrients and is an excellent nutrient-rich organic fertilizer and soil conditioner. It is used in commercial farming and small scale sustainable, organic farming.
It is faster and more efficient than regular composting but has a few draw backs. There are certain things that you can not add to vermicompost that would be fine in regular composting. There is also less room for error since we are dealing with live organisms. Although, you are free from having to heat your pile to kill bad bacteria because the worms and good bacteria do it all for you.
If you have a large amout of organic material all at once, then it would be better to make a pile that has to be turned and allowed to heat up to 160°f. Worms can only consume small amounts at a time and are only fed once a week.
Vermicomposting is really not that difficult once you get a routine down.
Here is everything you need to know to start and maintain an efficient worm farm.
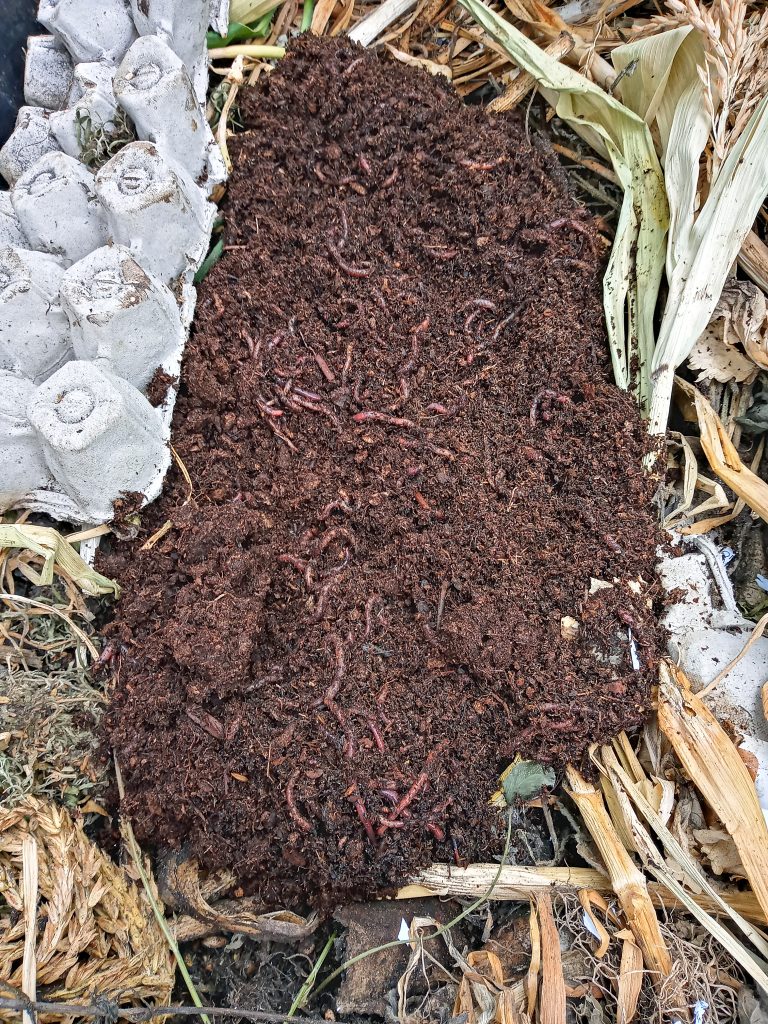
Buy a pound of red wriggler/tiger worms. There are different worms for different things. Red wrigglers are the best for vermicomposting.
I would also dig up a few yard worms and night crawlers to have a good mix.
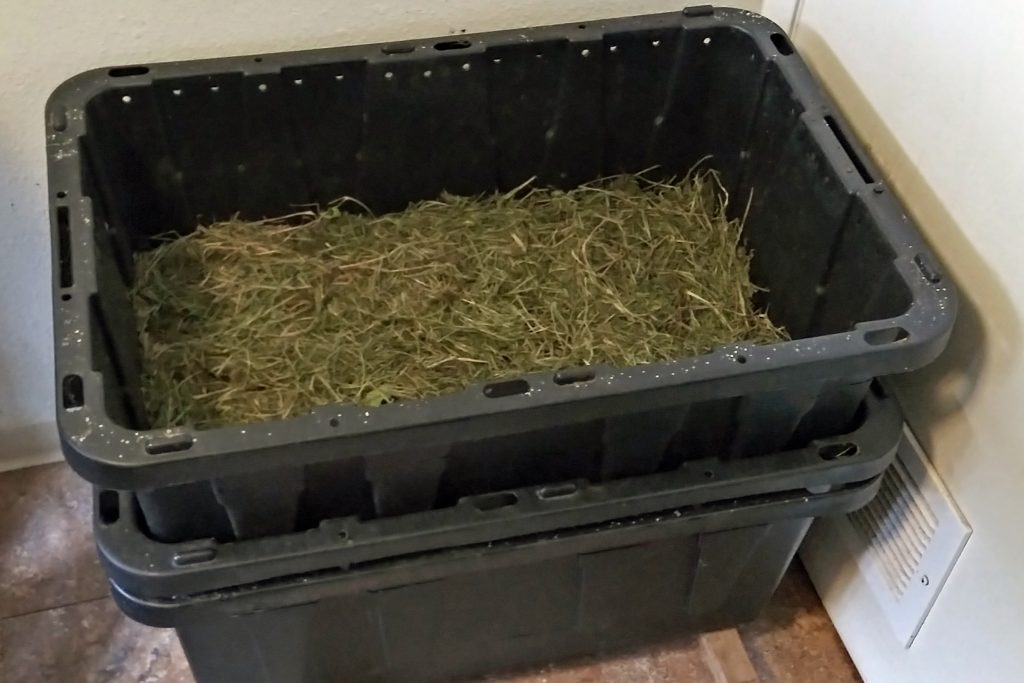
Make 3 bins out of wood or buy bins that are roughly 12x18x26. A wood box is the most sustainable. Make sure the wood is not treated but it can be sealed with pine tar.
I have seen people use everything from a bucket to a claw foot bath tub.
Drill 1/4″ holes at 1″ intervals all along the bottom of 2 bins so that water drains. File the edges of the holes on both sides so they are smooth.
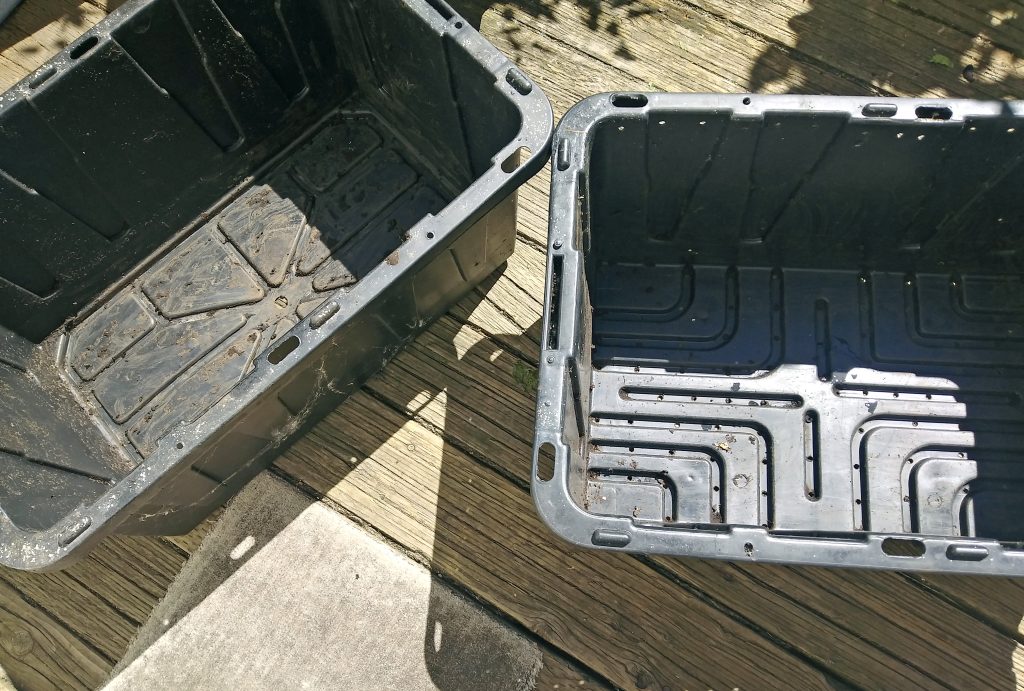
On the third bin, drill one 1/2″ hole in the middle of the bottom. File the edges of the hole smooth. This will be the bottom bin permanently.
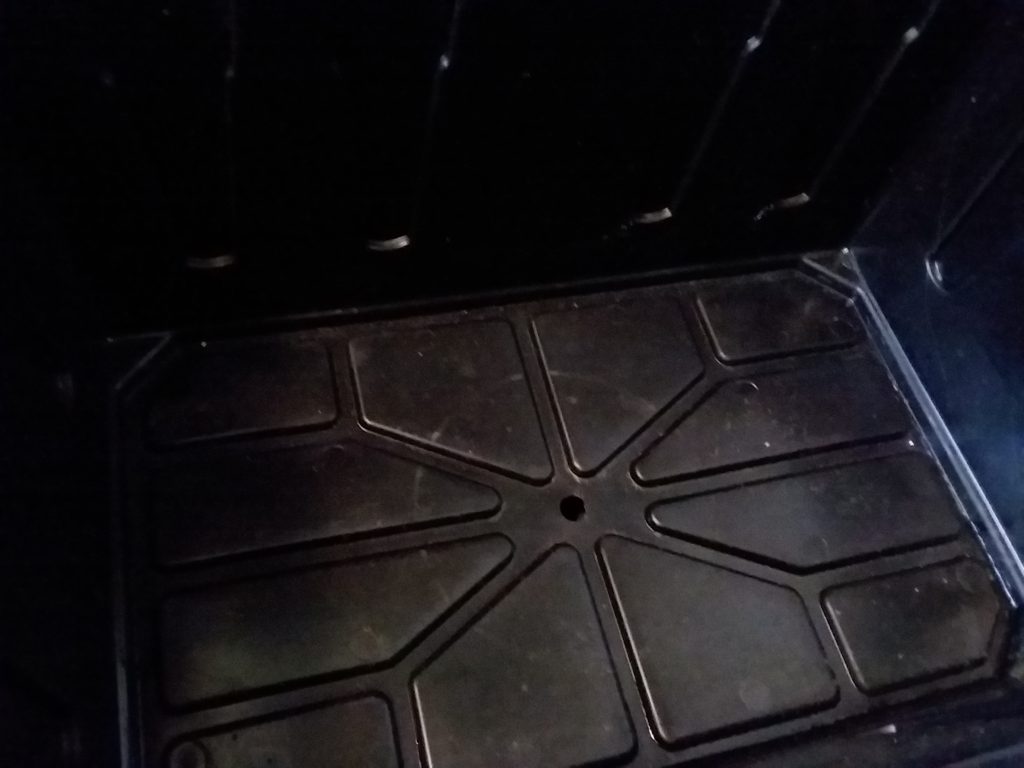
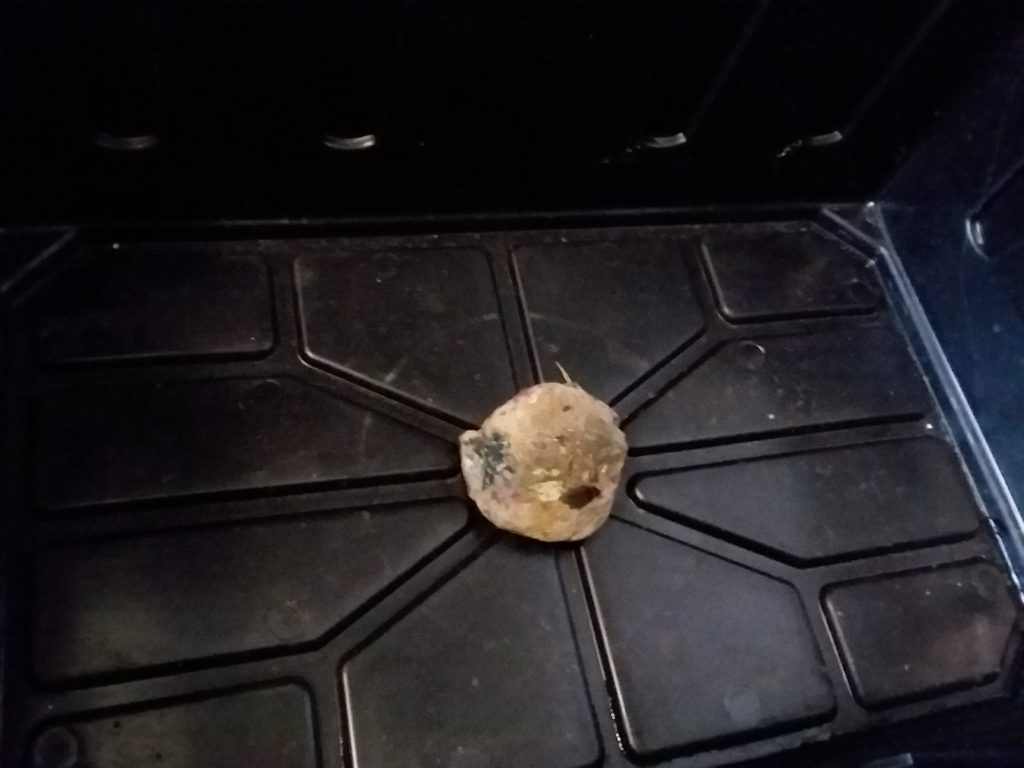
Place a brick or rock horizontally in the bottom over the 1/2″ hole.
Cut out most of one lid and cover the hole with fine mesh screen. Seal the edges to keep out pests. Any kind of window screen is sufficient.
Find a spot that is always in the shade like the garage or under a tree. If it is outside, it will have to have an additional cover to keep out rain.
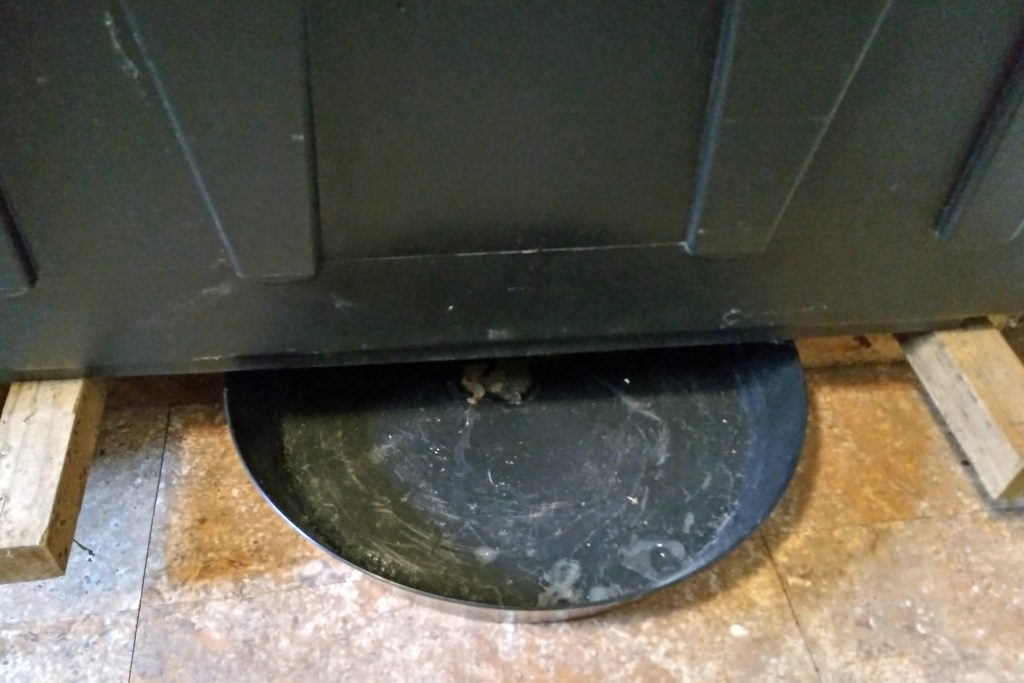
Place the bottom bin on bricks or something to hold it up a few inches. Allow the middle to be open so you can slide a tray in and out from under it. I use a plant coaster for this.
The tray will collect the juices that run out of the bottom. These juices are mostly fulvic acid which can be used diluted as a soil booster.
Place your bin with the small holes inside this one.
Cover the bottom of the bin with about an inch or two of clean moist soil. I use the Green Earth Super Soil. Then place a layer of dry leaves just thick enough to not see the soil through them.
Place food scraps evenly over the leaves but not too thick. Two gallons of food scraps are enough for a bin this size, once a week.
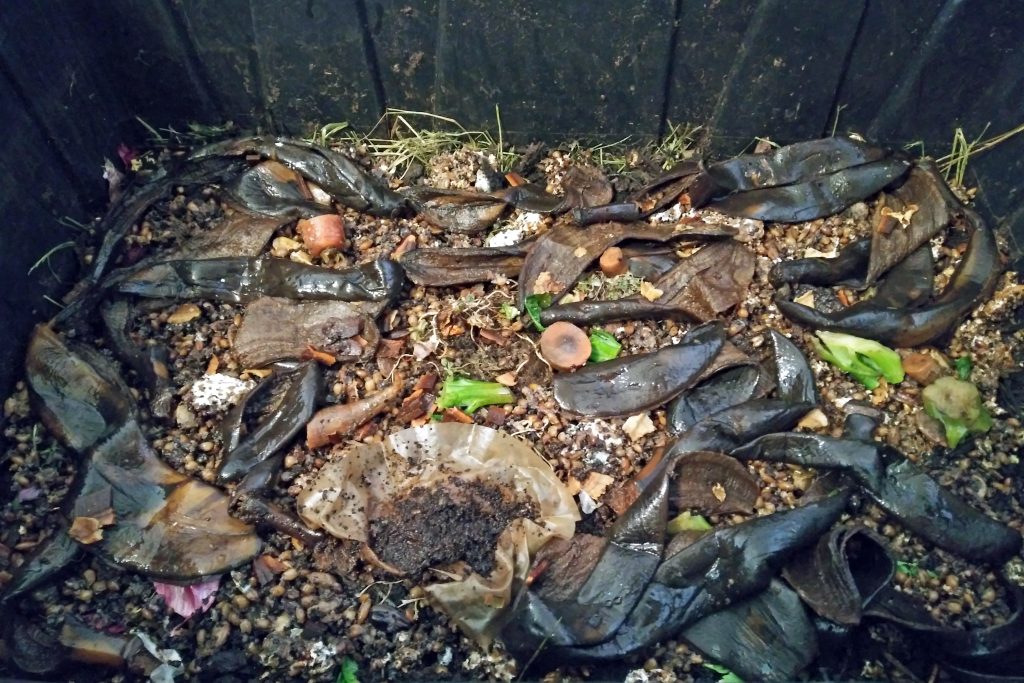
Sprinkle Bakers Yeast and/or Brewers Yeast on top of the scraps for the first feeding and last feeding before switching bins.
Then sprinkle clean dirt or top soil over the scraps just thick enough to coat them good.

Place a layer of dry grass or leaves over the top so that it completely covers it. This is to keep your carbon to nitrogen ratio at the proper level and to keep it dry on top to avoid pathogens.
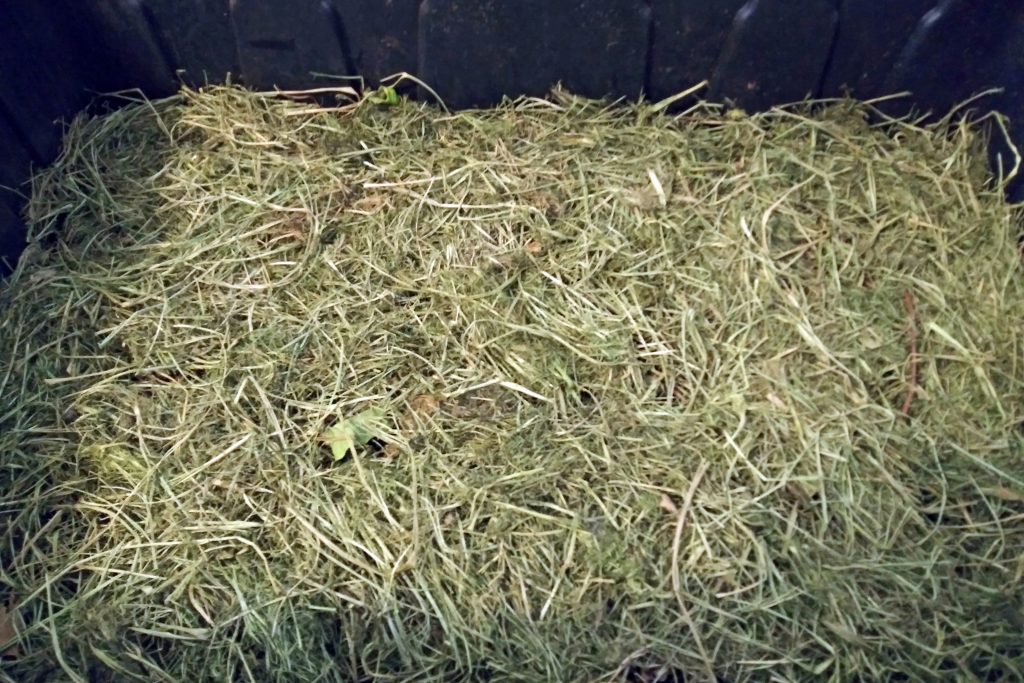
Place the worms on top of the grass and they will burrow in.
Then place your lid on and you are done.
Wait one week and then repeat the feeding process. Place more food scraps on top of the grass or leaves. Sprinkle with soil and cover with more grass or leaves.
Every time that you feed, check the bottom tray for liquid. If there is any, sieve it into a bucket to use later.
Do this once a week for 2 months.
After that time, your bin should be close to full. Push the grass down all around the edges so it is lightly turned under.
Sprinkle forest humus on top.
Place the 3rd bin inside the others.
Start the new bin from the beginning of the feeding process.
The worms will come up through the holes when they are ready.
Continue adding food scraps once a week.
Now, at the end of another 2 months, it is time to harvest the castings.
Lift the top bin enough to see the bottom so you can remove/scrape the worms off of the bottom. This is best done with 2 people.
Then set the bin aside on a tarp or in an empty bin with no holes, so the worms don’t get away.
Do the same with the lower bin.
The very bottom bin will most likely have several worms in there just hanging out. I call these the lazy worms.
Round them up and place them in a bucket or other container with moist leaves and/or soil.
Using a large tray, grab some of the vermicompost from the lower bin and place it to one end. This will most likely still be full of worms.
Pull small amounts of castings away from the pile to the other end of the tray making sure to leave all of the worms in the original pile.
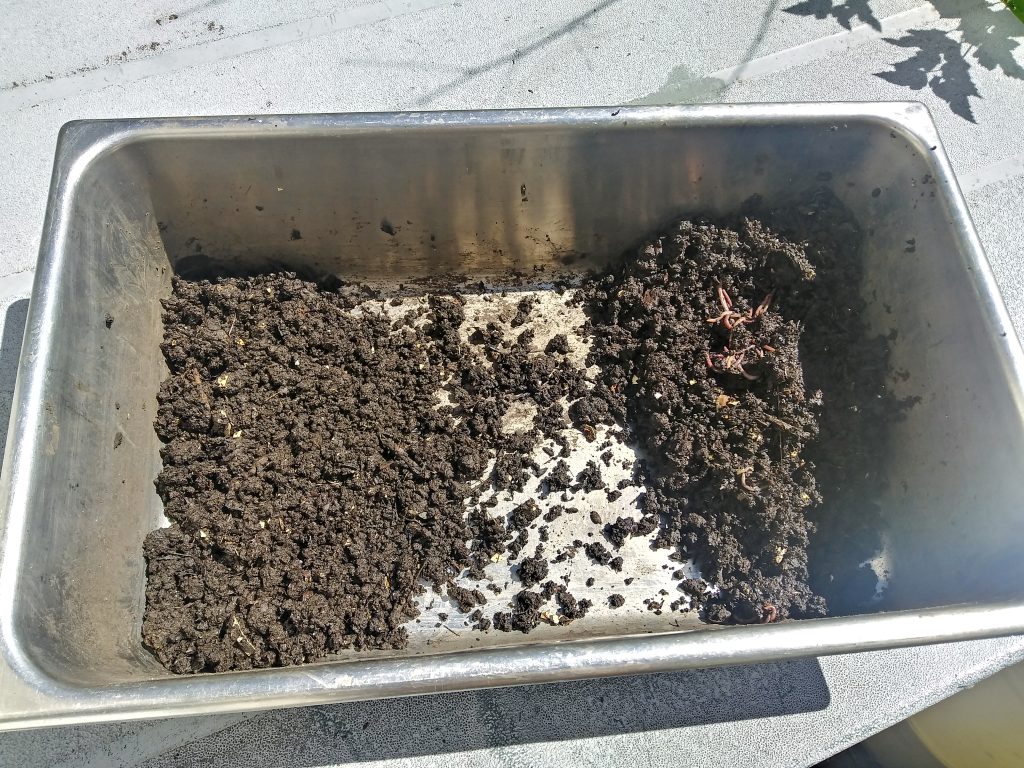
Once you have mostly worms left in the pile, then place them in a bucket or other container with moist leaves and/or soil and keep them shaded. It is ok to have a little of the castings mixed with the worms.
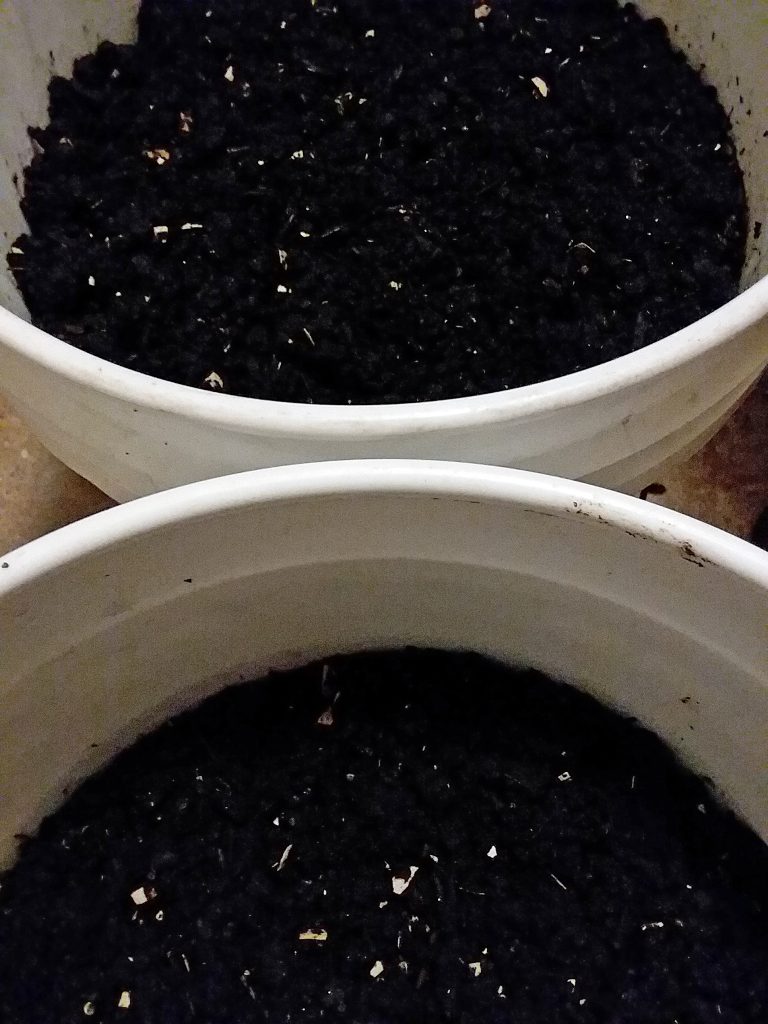
Place the cleaned pile of castings in a separate bucket that has a lid.
Start with another pile of castings from your bin and continue until it has all been gone through. This takes several hours and the sun or a light can be beneficial to keep the worms in the pile.
Once the bin is empty, rinse it off making sure to collect all of the water. Or you can rinse it out close to a tree or bush that you want to fertilize. Also rinse out the very bottom bin that has just one hole. This water which is now worm shit tea, is full of nutrients for plants.
Place the very bottom bin back on the risers and place the rock or brick back over the hole.
Place the bin that is newly full inside the very bottom bin.
Push the grass down all around the edges so it is lightly turned under.
Sprinkle forest humus on top.
Place the clean bin with small holes on top and start again with soil on the bottom, then leaves, food scraps, ect.
Then place the worms, that you gathered in the container, on top and cover it with the lid.
Pointers:
Every time before you feed, check the vermicompost for dryness and see if the worms are happy.
Never water the bin unless it seems dry. If ants get in there, it is a sign that it is too dry.
If you do water, sprinkle lightly and evenly just enough to get it damp.
There should never be any smell coming from the bin.
If there is, then it is probably too wet. Correct this by adding more grass and leaves and mix them in.
I keep mine in the kitchen all winter and there is no smell at all.
You can use a compost thermometer if you want to.
Never let the worms get colder than 35° or hotter than 90°, they will die. If you feel that they may get too hot, you can add ice on top of the carbon layer. Also a couple of frozen water bottles work well.
If the material in the bin starts to get warm, that means there is too much microbial activity from over feeding. Add more grass or leaves and mix in.
Skip a week or 2 of feeding until the temperature stabilizes.
The castings can be stored for several months if you keep the lid loose so it gets air but does not dry out. If you notice mold on top, it needs more air.
Never use any chemical fertilizer or anything that is not organic with the castings or tea. It will defeat the purpose because it will kill all of the bennificial microbes and slow the uptake of nutrients by the plants.
WMT, Worm Microbe Tea:
Add 4 gallons of water to a 5 gallon bucket. Rain water or pond/lake water is best.
Stuff 2 cups of worm castings into a panty hose foot or sock and suspend it in the bucket.
Add 1 cup raw sugar or…
Boil 3 medium size potatoes until soft. Place them in another panty hose foot or sock and suspend in bucket. Knead the potatoes until thoroughly mashed.
Run an aerator in the bucket continually and let sit for 24 hours.
Remove panty hose and aerator.
Use immediately, do not store.
Love all the details in each topic . I believe soil is the biggest part of healthy happy plants. Knowledge is power..thanks for inspiring me!