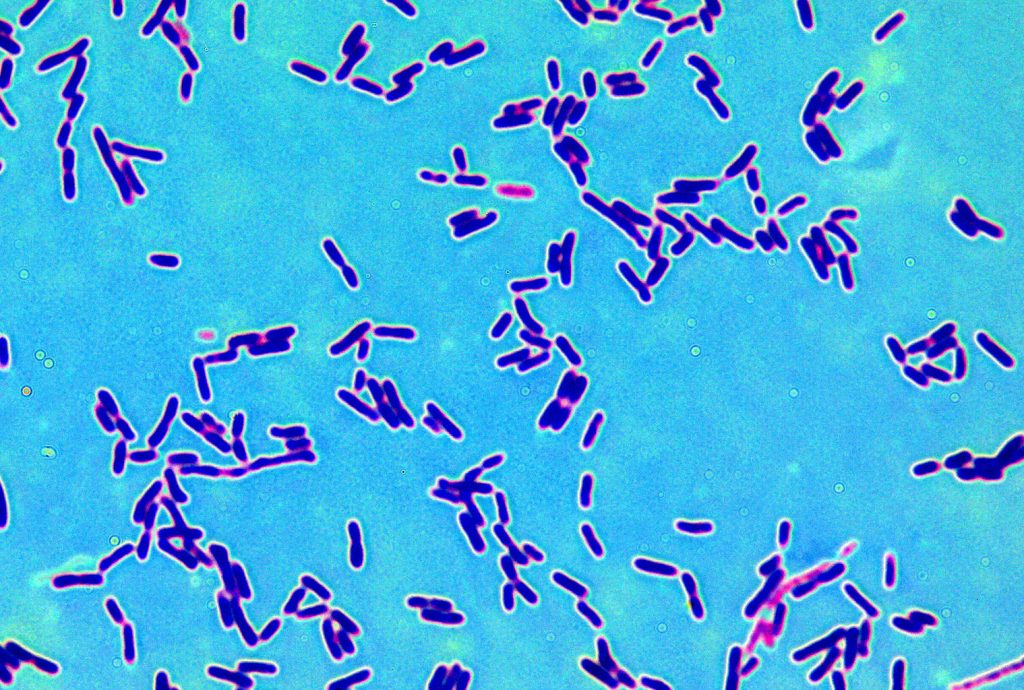
LAB (Lactobacilous)
Culturing lactobacilous, LAB, is easy to do once you get the hang of it. Only a few items are required for the process.
Probiotics are great for plants as well as human health. They help protect the leaves and roots from parasites and disease as well as helping to produce stronger, healthier plants. It has even been proven to increase oil production when used as a foliar spray.
Probiotics also help break down the organic matter in the soil to supply nutrients to plants. They work with fungus and other microbes to condition and balance the soil as well as control the ph.
These are the same bacteria that are used for making many different ferments including yogart, cheese, and kefer. The list of uses and benefits is endless. These probiotics are known as the police of all bacteria. They help keep things in check and will kill bad bacteria so well that even excrement can be used as a fertilizer in a short time.
I would suggest doing more research on all of the amazing uses of lactobacilous. It really is a true wonder of nature. A living superhero!
Ok, let’s get started with the culturing process. This will take a total of 2 weeks. I will also outline the shorter version that most people use that will only take about a week.
The reason for using the longer version is to have other types of probiotics for you to drink everyday. If you are not interested in culturing probiotics for your health, then the short version will work fine.
Sprouting Grain ~
1/4 cup wheat berries
1/4 cup rye berries
1/4 cup oat berries
1/4 cup quinoa
You can use many different kinds of grain. I have found this to be an excellent mix, although wheat berries are the preferred grain. If your water is chlorinated, let it sit out for 24 hours so the chlorine can dissipate. Every step of this process needs to be done with dechlorinated water.
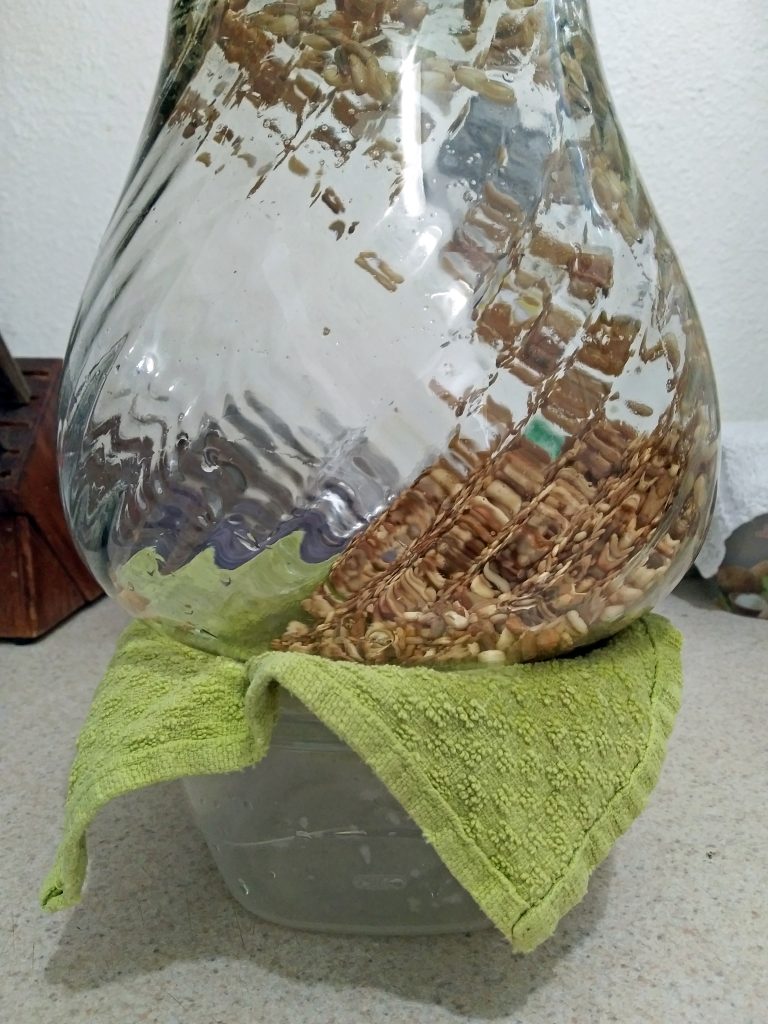
Place berries in a gallon or half gallon glass sprouting jar or other sprouting container, rinse and drain.
Add 1 quart of water and cover with a cheesecloth or other clean cloth. Secure with a band and soak for 8-12 hours, or overnight.
Remove the cloth and drain all of the water off of the berries.
Replace the cloth and invert the jar over a bowl at an angle so that the berries will drain and still allow air to circulate.
After 8-12 hours of draining, rinse and drain again.
Repeat rinsing and draining 2 times daily.
Tiny sprouts should begin to form in 2-3 days. The root tail should be the same length as the seed itself. At this point sprouting is complete.
Rinse and drain well before use or storage.
Culturing Bacteria ~
Add 1 quart of water leaving a small space at the top.
Cover the container with a fresh piece of cheesecloth or other clean cloth and secure with a band.
Find a space, preferably outside, to set the jar so that it is out of the rain and direct sunlight. Leave the container to sit for 3-4 days if temps are 65°- 75°F.
The temp should never be over 75°F. If it is, you will have to do your culturing indoors. That is not as ideal but it will work.
If your temps are 55°- 65°F it will take a little longer. In that case leave your sprouted grains to soak for 4-5 days.
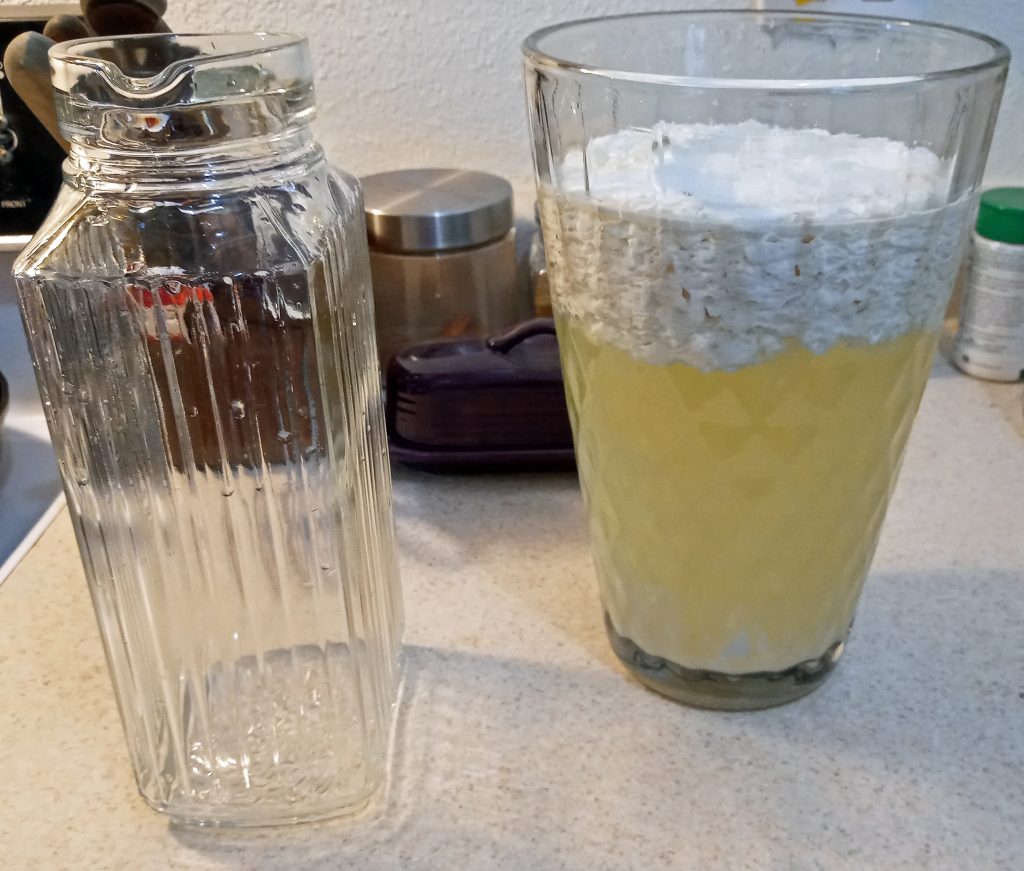
You will know that it is ready when you see bubbles forming on the surface of the water.
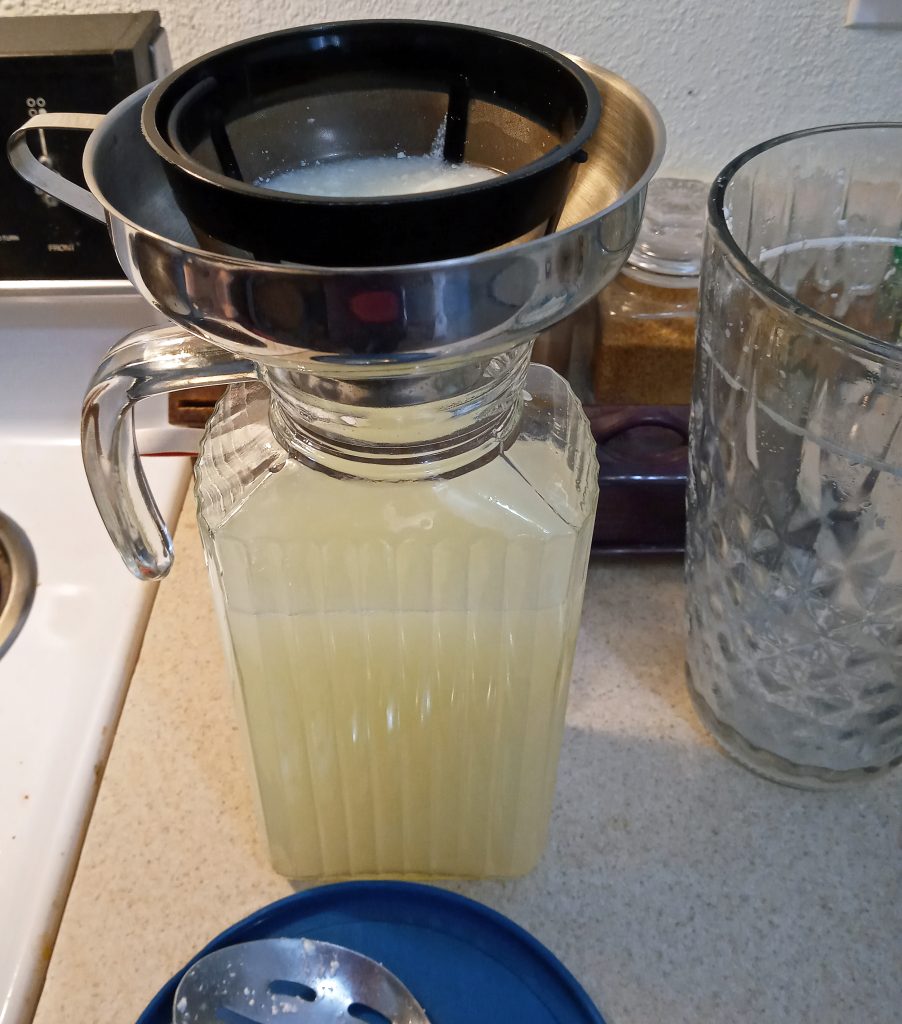
This water culture is known as Rejuvelac. Using only clean equipment, sieve out the Rejuvelac through cheesecloth or fine mesh filter into a clean glass jar or food-grade plastic container. Cover it with a lid loosely to allow it to breath. Keep in the refrigerator for up to 1 month.
If storing longer than a week, add 1 Tbsp of brown or raw sugar to every quart of liquid. This will help to keep it active.
The liquid should taste clean and fresh with a hint of citrus.
This next part is optional and will give you more culture.
Add 2 cups of water back into the jar with the sprouted berries. Allow this to sit for 1-2 days the same as above.
Using only clean equipment, sieve out the Rejuvelac and add it to the first culture that is being stored.
I drink a shot of Rejuvelac every morning before breakfast. It is best to drink on an empty stomach in the morning or between meals during the day.
Rice Wash ~
This would be the faster way but like everything else that is done the quicker way, it is not as good. The culture is not as strong and it may take longer to produce your final LAB culture.
Add 1 cup of rice to a clean glass jar or food-grade plastic container and add 2 cups of dechlorinated water. Shake the jar vigorously and then sieve the rice wash into a clean glass jar or food-grade plastic container.
Cover the container with a fresh piece of cheesecloth or other clean cloth and secure it with a band.
Let the container sit in a warm, dark place for 24 hours. It can also be set outside, the same as described above.
Now you have a rice wash culture that can also be used for many things including washing your hair.
Culturing LAB ~
Pour a half gallon of 2% milk into a clean and clear glass jar.
Pour 1 cup of inoculant (EM-1, Rejuvelac, or Rice Wash) into the container. Do not stir.
Cover the container with a fresh piece of cheesecloth or other clean cloth and secure with a band.
Place the container in a warm, dark place for 5-7 days. 60°- 75°F is ideal. Covering it with a paper bag or a box is beneficial to keep out light.
Once you see three distinct layers form, scoop out the top layer (the curd) and feed to a dog or add to compost. It can also be used to make cheese.
The serum (the whey) will be the middle layer that has a clear, yellow color.
Using only clean equipment, cheesecloth or fine mesh screen, sieve the liquid serum into a glass jar or food-grade plastic container.
Be careful not to mix in any of the bottom (sediment) layer.
Cover it with a lid loosely to allow it to breath.
Keep in the refrigerator for up to 1 month.
If storing longer than a week, add 1 Tbsp of brown or raw sugar to every quart of liquid. This will help to keep it active.
The serum is alive. It may continue to produce small bubbles and should have a mild sweet/sour aroma. If it smells like it’s rotting, the serum is contaminated with other bacteria and should be discarded.
I drink a shot of LAB every evening before bed, it really helps with digestion.
Expand & Activate ~
Molasses is a good source of fulvic acid. While molasses isn’t an ideal source of food for soil life it can still be used to benefit our gardens.
By activating the lactic acid bacteria serum, we can multiply a lactobacillus culture and make use of the benefits of molasses while not limiting the microbial diversity of our soil.
Activated lactobacillus serum, also called AEM or activated effective microorganisms, can be made by mixing 1 part LAB, one part unsulfured molasses, and 20 parts dechlorinated water.
Ferment in a dark container in a space ideally between 60°- 80°F for 3 weeks, or until the ph tests between 3.4-3.7.
Seal the container and add an air lock for off gassing of CO2.
This ferment is a potent microbial inoculant, rich in fulvic acid, enzymes and micronutrients.
LAB usage rates ~
1:1000 / 1/2 tsp. per gallon of water.
Can be used as a soil drench or foliar spray when diluted with water.
Great informative advice! I wish I had tried foilar spraying on mine going to experiment next grow!
Thank you so much !!! I’m learning more than ever reading your blogs and chatting with you !!! It’s very appreciated